
Have you been looking for the best guide on creating a Cuban link chain for along time without success? Then you don’t need to worry anymore since you are in the right place. There are several steps involved when making a Cuban link chain. People love iced-out chains, Cuban link chains, and diamond chains. The Cuban link chain is among the most popular link chain that anyone can recommend to you confidently. That is because they are well known due to their style, appeal, value, and many more reasons. Due to the variety of styles in the Cuban link chain, anyone can wear them. For instance, if you love wearing casual clothes, there are excellent Cuban link chains that will match your wear. Before you start to make a Cuban link chain, there are essential tools you need to have. Each of the tools listed below will have a unique use and ensure you get the tool first. The tools you need are;
- A metal stake (you can choose things like mandrel, nail, or any other strong item to make strong chain links.)
- A bench mounted
- The jeweler saw, hacksaw, rotary cutter or any other tool that can cut the metal pieces easily.
- Pliers for folding the thick wires
- Soldering gun, solder, torch or any other necessary soldering gadget
- Sandpaper (both fine and coarse)
- Polishing kit
- File
Essential materials needed
- A metallic wire
- Metal sheet
- Additional scrap metals and any other relevant tool and materials
Having gotten all the tools and material listed above, now you are few steps to making your quality Cuban link chain. Below are some of the steps on how to make a Cuban link chain. Those steps to make the Cuban link chain include:
Step 1. Gather the materials and form the links
Depending on the wire’s shape or any other metallic material you will be using to make the Cuban links, you may require to perform a different operation. Assuming you have the above-listed tool and materials, let begin by annealing the wire. Annealing the wire is crucial to make the wire suitable for forming the links. Annealing processes involve heating your wire several times to bend it easily. During annealing, the wire’s crystal alignment will be changed for more comfortable working on the wire. Therefore,you need to cut the wires into the right length/sizes, volumes, and consider other measurements and work on the wire to make it more friendly to bending and cutting through annealing. By doing so, you will have finished the first step well.
Step 2. Close and solder the links
The second steps involve closing the links to make them form the link chain. There are various things that one should consider before closing the links. Some of those things include the link chain’s final shape, six in terms of radius or diameter, the link chain’s weight, and much more. Failing to consider the things listed above can result in a link chain.It is essential to know that many people consider the weight of the chain, size, design, and many more things before purchasing. Therefore, if you make a slight mistake, you may incur losses, more so to the people making chains for commercial purposes. Also, ensure the joint can connect and fit each other well to avoid some link chain falling off from the pattern. Once the links and fitted well on each other, lastly, you need to solder the joints well using the soldering gun mentioned in the requirements section. Step 2 is among the most crucial stage that requires one to be extra careful not to make mistakes. If you realize the links can disconnect from the others, you need to ensure you have soldered them well.
Step 3. Clean up the solder joints
To improve the appeal of your work, then it would help if you cleaned the soldered joints. That helps to make the link chain soft. It is essential to clean the joint well to make the link chain more suitable for wearing. After ensuring the link chain are free from facets and smooth as possible, you can now consider proceeding to the next step.
Step 4. Construction of the box clasp frame
Using the metallic material listed in the materials required section, it’s time to use the metallic material to make the right clasp. The clasp helps in closing the clink chain. If you were making a necklace link chain, you would require a clasp box to close the necklace. Therefore, to make the clasp, you need to decide on the shape of the clap. One can choose a rectangular clasp, a spare clasp of any other shape. Remember, no shape can use similar dimensions with a different shape. An excellent example of right clasp measurement is 20X15x10 mm. if you do not have any unique design for your clasp, you can choose to make it similar t the one with details mentioned above. By completing this step well, you will have managed to deal with the technical part. Most of the people consume a lot of their time in step 4 discussed above.
Step 5. Solder the clasp box
Since we discussed a few steps to measure all the things you need to make in the step above, the first step will involve soldering the clasp box. Here you need to solder well the four corners of the rectangular or square-shaped clasp box. Also, consider reinforcing the miters and ensure the last butt joint can close well.
Step 6. Creating of the tongue and button of the clasp
The tongue and the bottom of the clasp are essential since it helps in closing the chain link. If the tongue does not fit well in its place, you may consider drawing the diagram again. Using a different piece of metallic material, you need to cut and tile a button you will be using. Using the brass wire, scrap the metallic chain link until you felt its smooth. For easy removing and wearing the chain link, ensure the clasp box has fitted well on the clasp, ensure you solder everything at the right time.

Solder the clasp to the link chain
Once you are done creating a nice clasp, it’s the right time for the clasp to fit the chain. That will prevent you from having any future issues with closing the craps. Everyone should know that the clasp should be strong to accommodate different tensions without breaking. Most designers make a mistake when making the clasp. That is because they use a weak clap that shatters when subjected to varying forces. A good clasp should be able to withstand the maximum tension possible. A way of testing if the clasp is good is by applying tension forces on it when closed. If the clasp does not break, then your design is good.
Common mistakes to avoid when soldering the clasp
There are several mistakes that everyone should avoid when soldering the clasp. Those mistakes are;
- Failing to align the tongue and button. That mistake will make your link chain fail to close.
Soldering
- Soldering the parts wrongly
- Using low-quality materials and many more
Step 8. Making final adjustments and polishing the link chains
In this step, your link chain is ready, and all you need is to confirm if the chain suits all your needs in terms of strength, quality, design, and many more. Some of the essential things to adjust and polish in this step are the clasp, suitable mechanism, the texture of the chain, and few more things.
Step 9.Finalize and consider the work done.
After confirming the chain’s working in the step above and found out that everything is okay, now you may consider a task done successfully. You may choose to use the chain-link or sell depending on your objective for making the chain.
Therefore, if you were looking for a guide on making a Cuban link chain, you need to follow the few steps discussed above and make a good chain.
Why is it essential to make a Cuban link chain?
According to studies, many people love wearing a classy Cuban link chain. That is because there are several benefits of wearing the chain mentioned earlier. According to research, below are some of the top reasons you need to make and wear a Cuban link chain. Those reasons include;
Making a Cuban chain link involves few steps
Unlike the other chain that requires one to undergo complicated steps to make a quality Cuban link chain, the chain mentioned above involves a few things, and you are ready to make the chain. Therefore, due to the ease of making the 24k gold cuban link chain, it is clear that making such a chain is easy for everyone.
Cost friendly
Did you know that you can use the locally available materials to make a quality Cuban link chain? Most of the Cuban link chains available in the market have been made using locally available materials. Therefore, with just a small amount of money, you can make an excellent Cuban link chain.
Access to a variety of styles
The other beautiful thing about most of the Cuban link chains is their various styles. Regardless of the style,it would be best if you chose multiple options for you. Many people prefer their right link chain style from the Cuban link chain since they come in different types.
Available in different colors
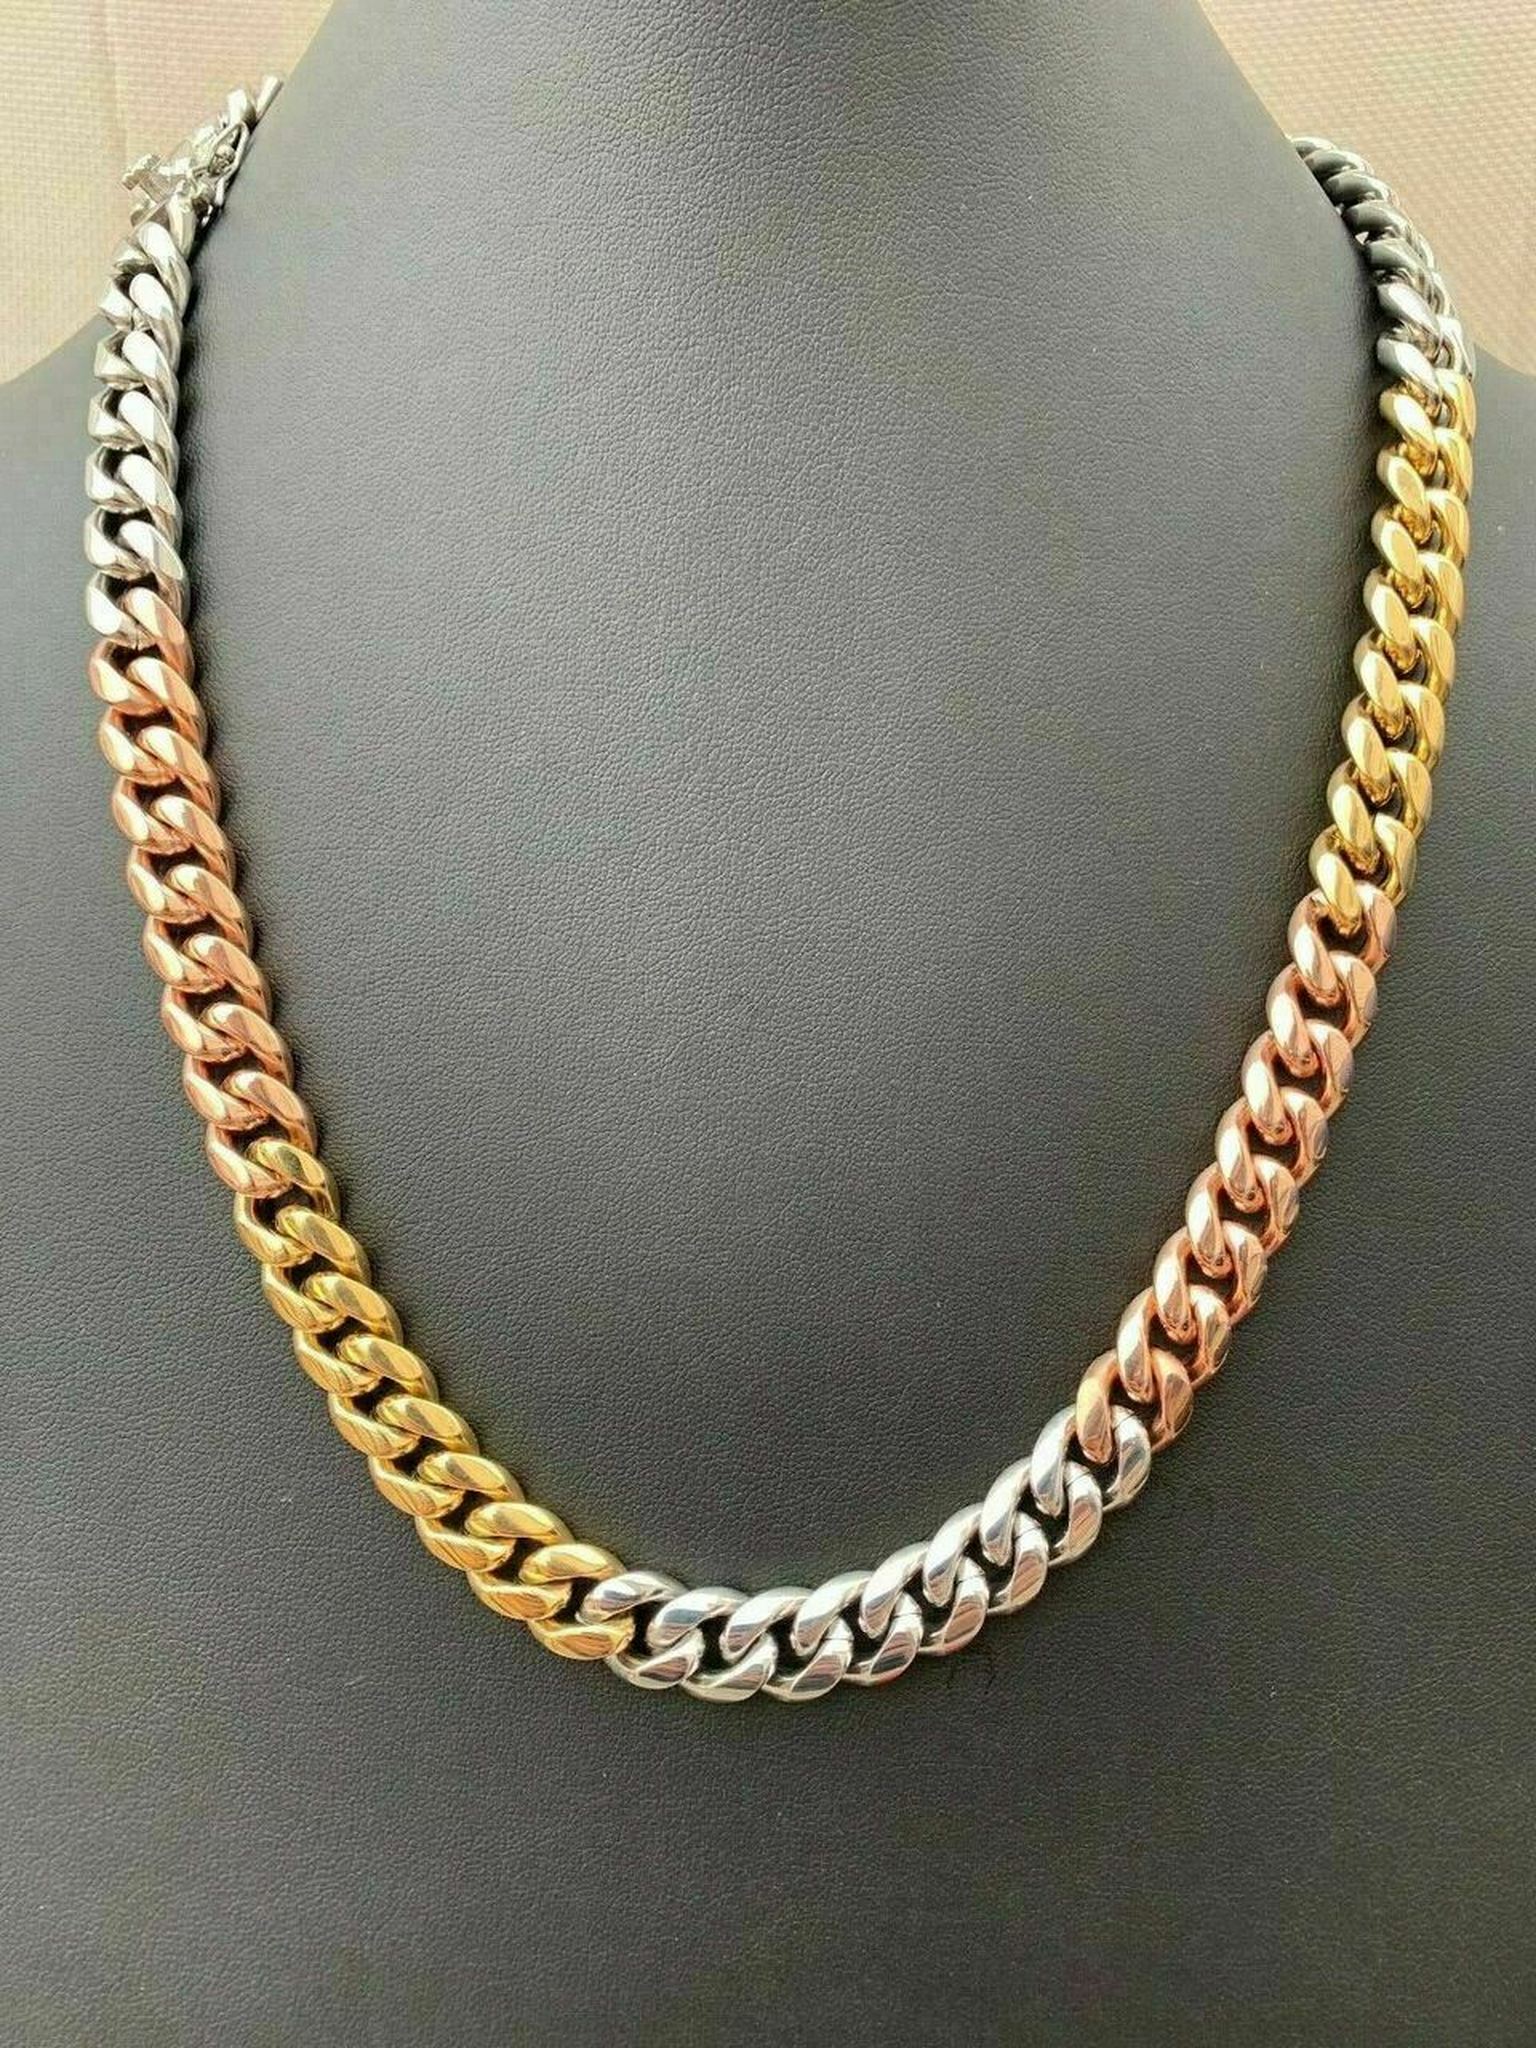
The Cuban link chain is available in different colors. That makes it easy for other people to choose their favorite color easily. Some of the available colors include gold, rose gold, and silver. It is essential to know that color is among the crucial things to consider since color helps to match a particular style. Choose the color that makes you feel good when wearing the Cuban link chain.
Last word
Having learned all the various things discussed in the article above, it is clear that you can easily make a Cuban link chain. All you need is to follow the steps discussed above. In conclusion, to make a Cuban link chain, you need to gather materials and the form links, close the Cuban link using solder, twist chain, and file facets, construct the frame and lastly, finalize the polish the chain.